Tutorials
Create a dynamic employee list using the Chapters field
This tutorial provides step-by-step instructions for implementing the Chapters field using .NET and enabling the live preview.
In this tutorial, you will learn how to implement a dynamic employee list in Strife Studio. The example leverages the Chapters field and .NET (C#).
Ensure that the C# SDK is installed on your website. For detailed instructions, see Install Strife SDK in the .NET guide.
Please review the Chapters field reference and check the Strife Web Components guide.
Template
First, create a content template called 'Employee'. Add a couple of fields for displaying information about the employee; such as 'Name', 'Role', 'Image'.
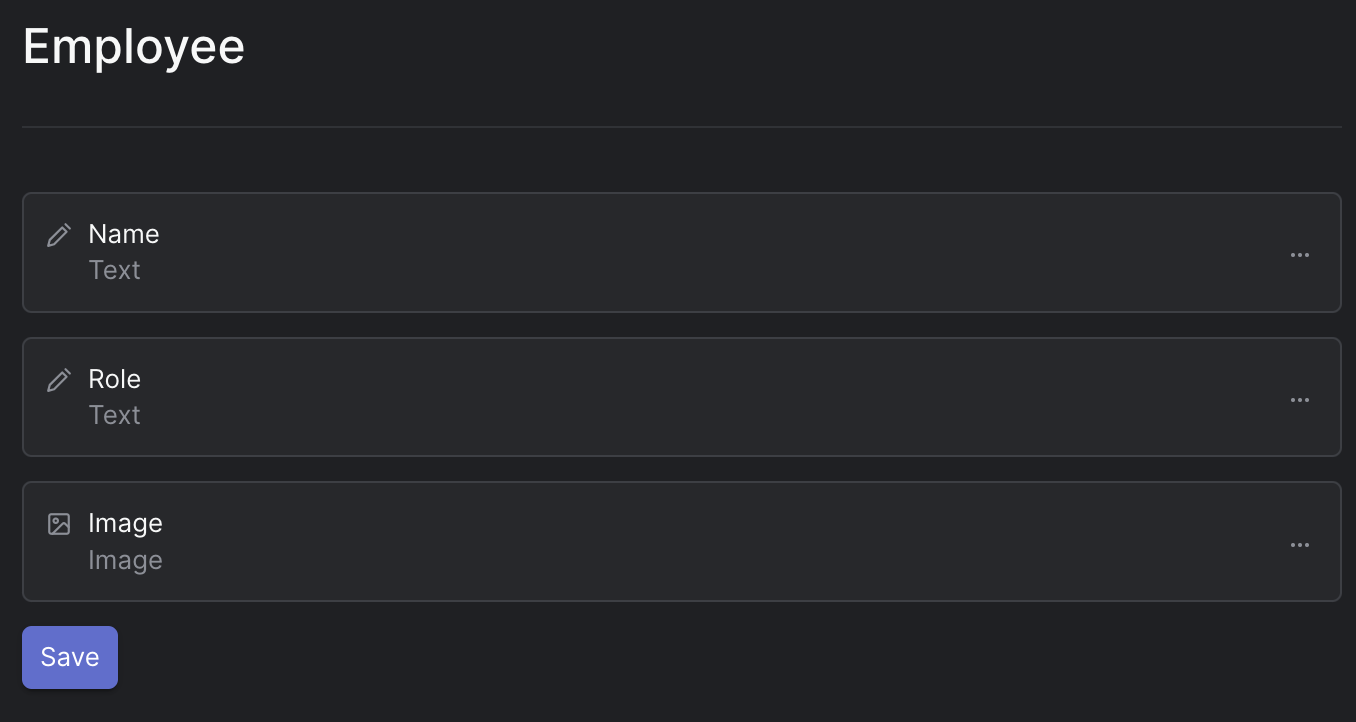
Employee Content Template
Next, create a chapters field on your document template used by the page where you want to display employees. Open settings, name the field accordingly, e.g. 'employees', and restrict types to use only the 'Employee' Content Template.
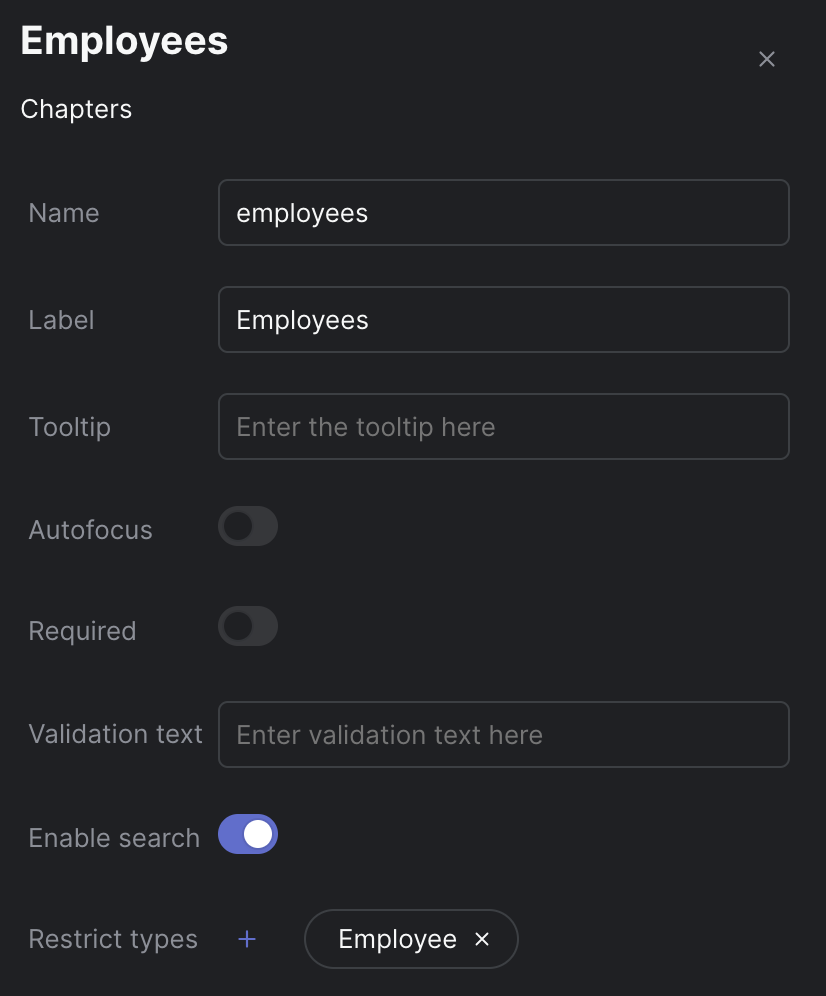
Chapters settings
Website
Backend
Create a model in your website that will hold the data.
public class Employee {
    public string Name {get;set;}
    public string Role {get;set;}
    public Image Picture {get;set;}
    ...
}
Add a list property to your existing page model
public class YourPageModel : Content {
    ...
    public List<Employee> Employees {get;set;} = new List<Employee>();
    ...
}
Your page model will now be populated with the employees added in the Strife Studio.
Frontend
Create a partial view called _Employee.cshtml in the Shared folder.
@model Employee

<li class="card">
    <img is="str-img" data-field="picture" src="@Model?.Picture?.Source?.Url" alt="" width="128" height="128">
    <h3 is="str-h3" data-field="name">@Model?.Name</h3>
    <strong is="str-strong" data-field="role">@Model?.Role</strong>
</li>
Determine the location within your markup where you want to present the employee list. Utilize a container Strife Web Component and include the is and data-field attributes. Then, iterate through the employee data in your page model and employ the partial to perform server-side rendering of the content.
<ul is="str-ul" data-field="employees">
    @foreach (var employee in Model.Employees)
    {
        <partial name="_Employee" model="employee" />
    }
</ul>
To ensure the live preview functions correctly, it's essential to include an HTML template that contains the markup to be dynamically cloned when the user edits content in Strife Studio.
Begin by obtaining the ID for your content template, which can be found in the Content Template list. Click on the three dots and select 'Copy ID'. Next, navigate to your _Layout.cshtml file, and just before the closing </body> tag, add the following code snippet as shown below:
<template id="[Copied ID]">
    <partial name="_Employee" model="null" />
</template>
Studio
To complete the setup, navigate to the corresponding page in Strife Studio. Within the Chapters field, add a couple of employee entries. Your website should now automatically add and display a preview of the employees as you edit them. Don't forget to publish your changes to make the content visible outside of Strife Studio.
Congratulations, you've successfully implemented a dynamic employee list with live preview functionality using the Chapters field in Strife. Enjoy the real-time editing experience and enhanced control over your content!